Not set up your BagID yet? Please read this article.
Step 1: Check in with your airline
Before you can check in for your flight in the BagID app, you need to check in with the airline you're traveling with. Typically, the check in opens between 24 to 48 hours before your flight. Check in as usual before adding the flight to the BagID app.
Note: For flights with Norwegian and Widerøe it is possible to add the flight to the BagID app before checking in with the airline, but the create bag tag option will not be available in the app before you have checked in with the airline.
Step 2: Add a new flight
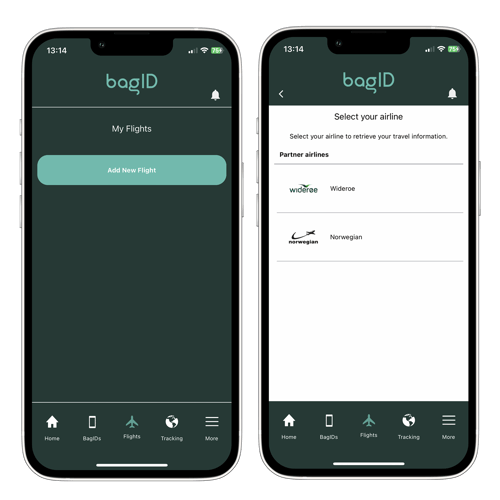
- Navigate to the 'Flights' section in the menu.
- Select 'Add new flight'.
- Choose the airline you'll be flying with from the list.
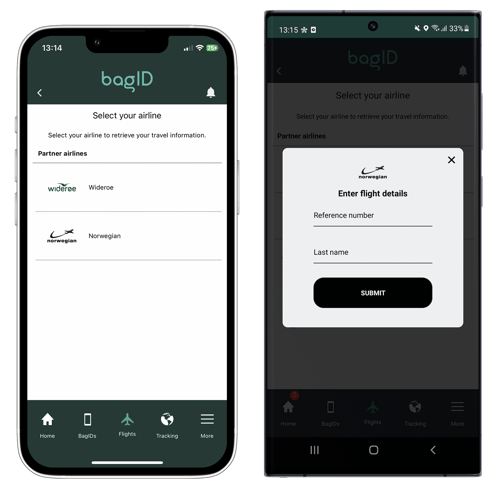
Enter the provided reference number. You can find this in the travel documents provided by your airline. Please verify that the last name matches the one on your ticket.
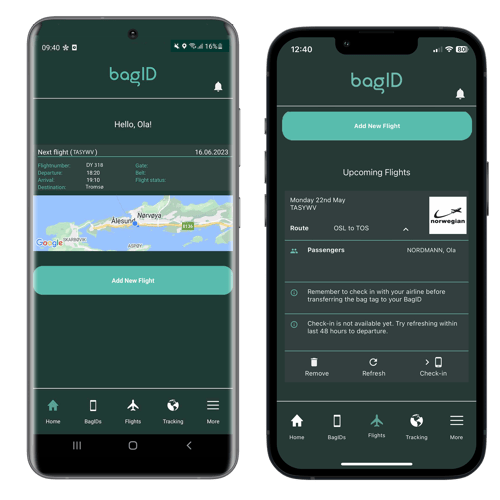
Step 3: Create and transfer the bag tag to your BagID
After entering the flight details, the BagID app will collect information from your chosen airline. Your upcoming flight will then appear under 'Upcoming flights'.
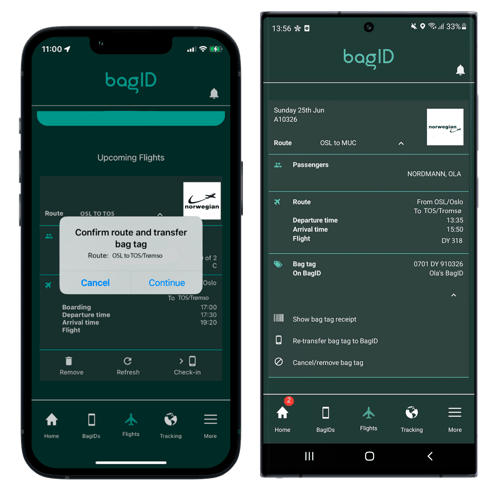
- Tap 'Check-in' at the bottom right corner. You will be prompted to confirm the route and transfer the baggage tag. Allow the app a moment to process your request.
- You will then receive instructions to connect with your BagID 2.
- Press the left button once to activate Bluetooth. The device will enter pairing mode when the light turns blue.
- A message in the app will confirm the completion of the 'Bag tag transfer' and the bag tag will show up on your BagID screen.
The bag tag should now be visible on your BagID and you're ready to go.
If you have priority, this will be displayed on the bag tag.
Watch the video guide here: